Hello, world! I have something exciting to share with you! 2016 has been off to a great start with me spending the new year in Jamaica with friends and family. And as those of you close to me know, I LOVE to travel. Last year, I went to England, France, Spain, and Andorra for my 30th birthday. A few years ago, I set a goal to visit at least two new countries a year, and I’ve been on target so far. This year, I’m planning to visit Cuba, Thailand, and Bali.
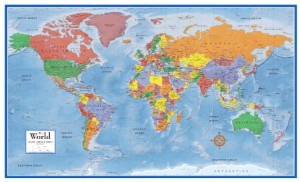
Typical pin board world map
While planning my trips for this year, I started thinking about clever ways to track my travels. I looked at large world maps online, but they were mostly the typical colored push-pin maps and most were only three feet wide. My issue with these maps is you don’t really get a sense of the countries actually visited. You just end up with a bunch of pins that are hard to see from even a few feet away and that make it cumbersome to just glance at a map and immediately see where someone has been.
This gave me the idea to look for something that I could fill in as I go. I found a cool scratch-off map that lets you use an eraser to uncover the countries you’ve visited, but it was too small. I also knew that whatever I got had to be minimal in color since a majority of these maps are very colorful and distracting. I found some cool sepia toned maps that were large enough, but they weren’t special enough to justify me getting one. So I came up with a new idea instead, one that I could make myself and feel proud of.
I had this vision of doing something large so I could clearly see every country. I knew I wanted something roughly 6 feet wide so I can put it on an open wall in my bedroom. I also knew that I wanted the countries to be outlined so I could fill them in as I go. I got the idea to use wood planks so I could assemble them into my canvas and then woodburn in an outline of the world. It would be rustic, handmade by me, and completely fun to paint in the countries as I make my travels throughout my lifetime.
The first step was to find the perfect map of the world in vector form so I could tweak it and print it out. Being the research queen that I am, it took me hours of googling the history of map layouts before I decided on which layout of the world I wanted. It turns out that world map presentations aren’t as simple as you might think. The biggest problem is that there’s no clean way to show a flat version of the world without running into some scale issues. There are some common projections of the world, Mercator being a popular one. Google Maps, for example, uses this flat version of the world that grossly misrepresents the ratio of Greenland to Africa. Greenland looks the same size as Africa, when in reality, Africa is actually FOURTEEN times larger than Greenland! So although I like how clean the flat map looks, I didn’t want to use a projection that was so distorted.
I started researching two others instead: the Robinson projection, which is used by the CIA for their political maps, and the Winkel tripel projection, which is used by National Geographic. At first glance, these two projections looks very similar, but I ended up preferring the Robinson projection because Greenland looks a bit more squished (and thus smaller compared to Africa) and the continents looked too vertically stretched in the Winkel tripel projection.
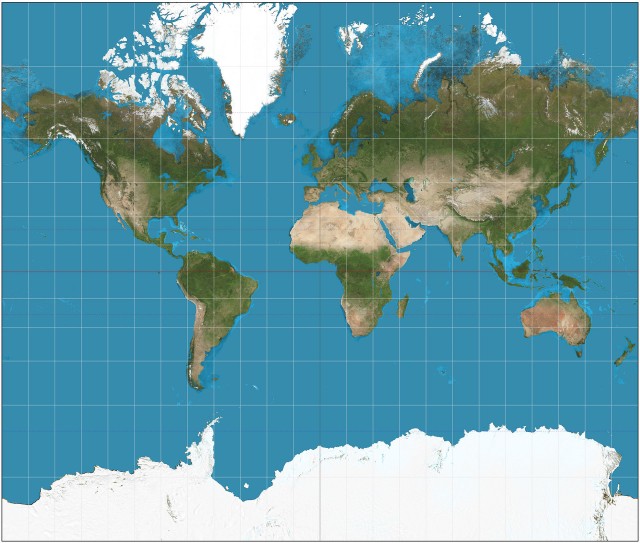
Mercator projection
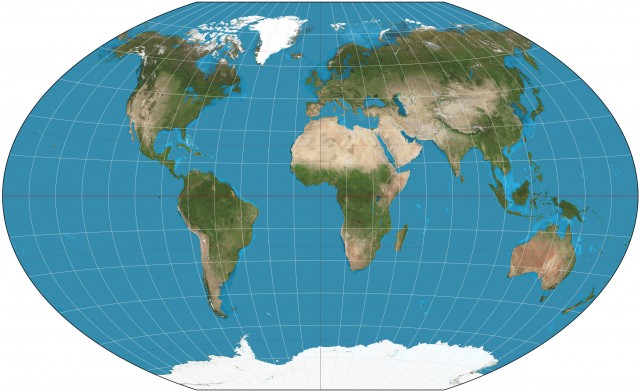
Winkel tripel projection
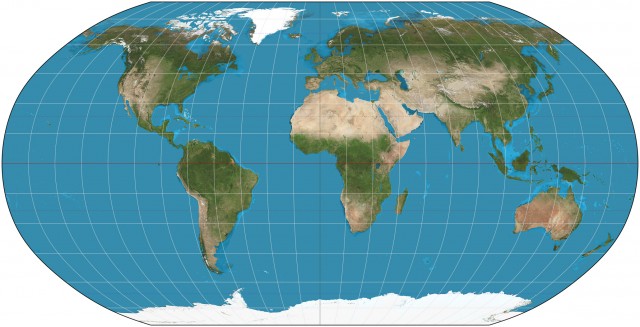
Robinson projection
Another interesting thing I learned about maps is that our association with north being “up” and south being “down” is just a decision someone made a long time ago for us to associate the direction of things and distinguish one of earth’s poles from the other. Imagine if we instead flipped it and north was south and vice versa. Imagine if we perceived the world and the map projections that we are so used to upside down instead. Another interesting perspective to think about is the way we center the map. Nowadays, I usually see Africa-centered maps, but there was a time where the Western world was made front and center because that is the way certain powers wanted the world to be seen: from their point of view. It’s so interesting to learn how maps and the discovery of our world has evolved over time.
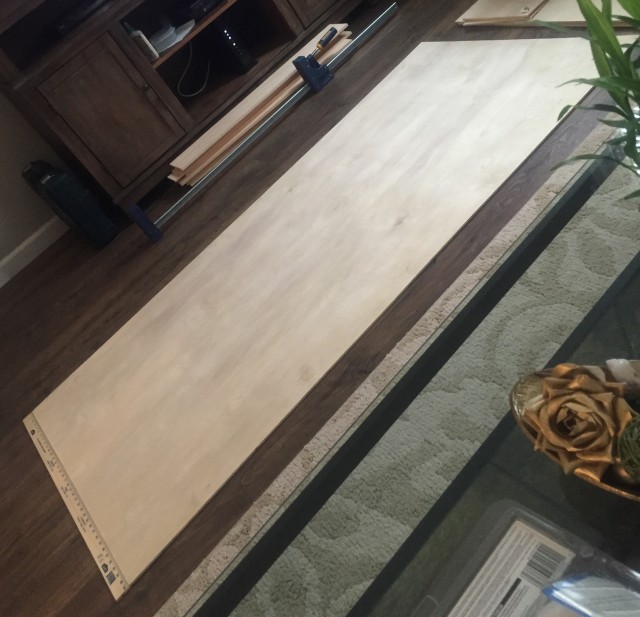
So after learning quite a bit about maps, I finally had a winner! I was officially ready to start my project. I found a free vector version of the Robinson map on Wikipedia and edited it in Illustrator to remove all text. I then worked out the size that my wood canvas needed to be to match the ratio of my map. For my canvas, my first idea was to get pine planks but it turned out to be a bit too tedious. The planks only come in a certain thickness so the entire canvas would’ve been way too heavy. I decided to use plywood instead, which is perfect because it is soft enough to burn easily, light, easy to cut down to my desired size since it comes in large sheets, and super affordable. I got it from Home Depot and had it cut to 6’x3′.
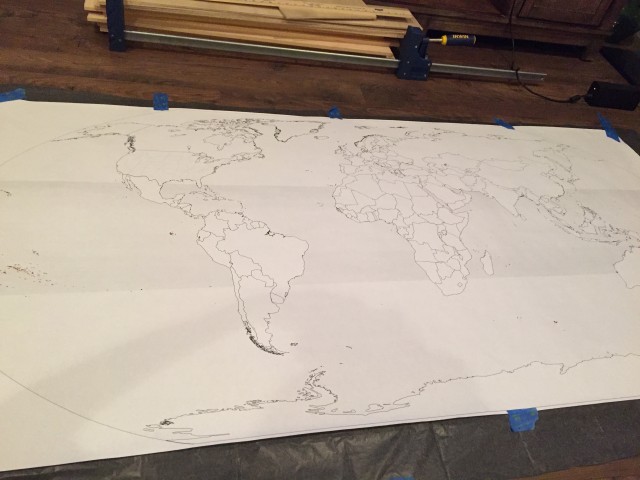
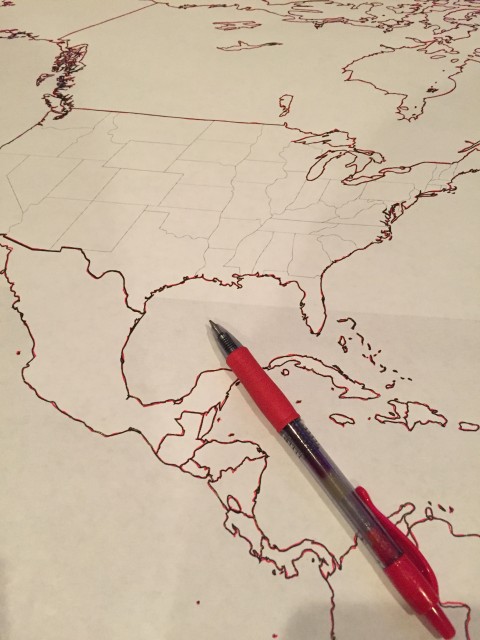
The next step was to print the map so it was slightly smaller than my plywood. I got this done at Kinkos. I ordered a large piece of carbon paper on Amazon, as well as a woodburning kit (pyrography is so awesome!). I traced the map onto the wood using the carbon paper, which took three hours to do. This was the result:
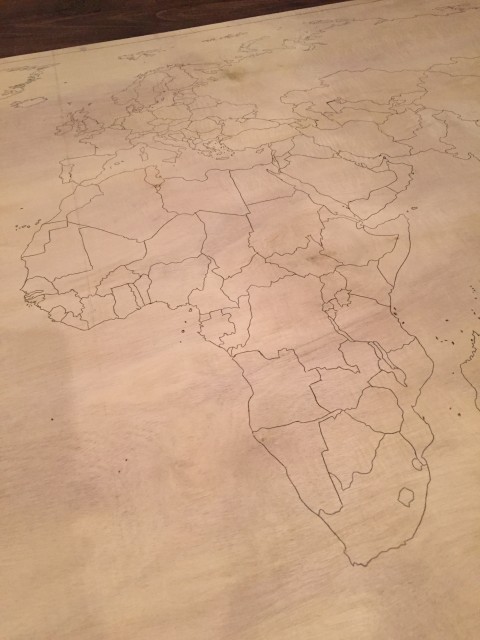
The next day, I started the woodburning process. I wore protective eye gear and a mask because the smell of the wood and the smoke is harmful if you’re not careful. I also wore thick gloves because I’m a klutz and didn’t want to burn myself. :) The process was slow but worth it! It took 10 hours over the course of two days to complete, but I’m very happy with the results!
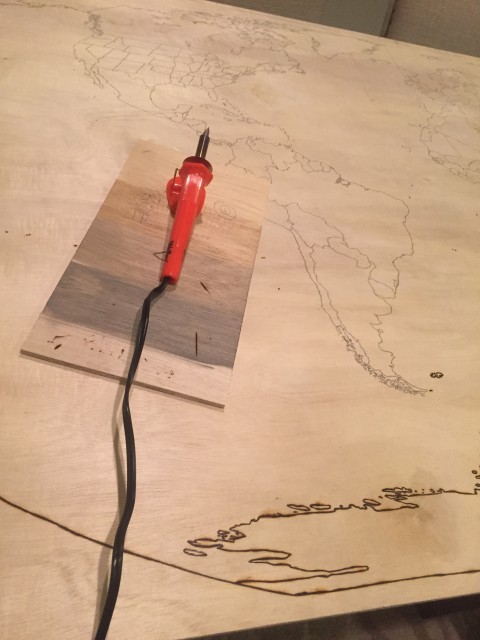
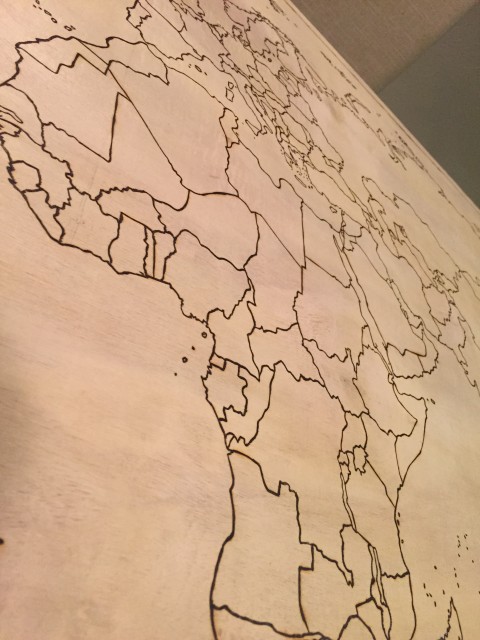
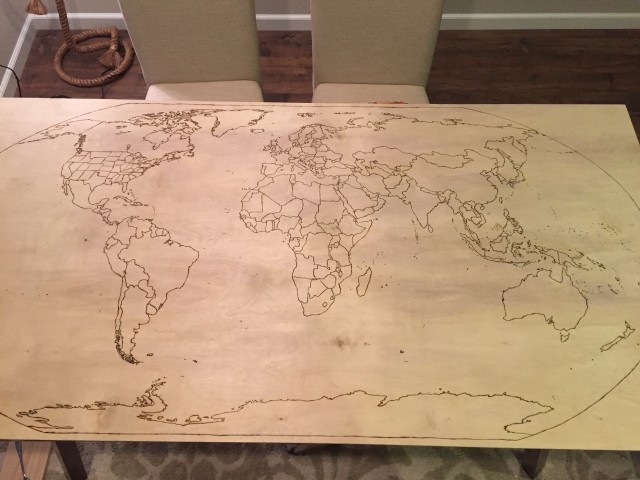
Next, I stained the wood with a coat of wood conditioner (this should be used on soft woods to help them stain better), two coats of a gray-brown color, and one satin clear coat (I only used one coat because otherwise painting in the countries after would be tricky). I wanted the wood to look slightly dark and rustic so that when I paint in the countries I’ve visited in white, the countries will stand out. It should also match my bedroom furniture nicely.
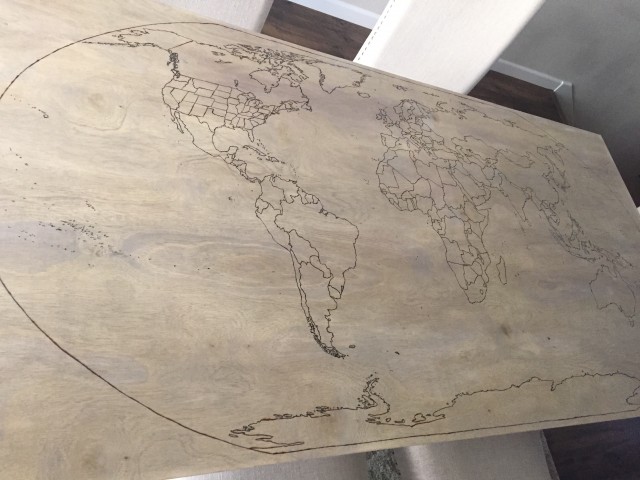
After two coats of the wood stain
Finally, the hard part was over! I decided to frame it to make it easy to hang and give it that final touch. Framing alone ended up being the only expensive part of the project. Here’s the breakdown of everything I bought:
Tools:
- Professional Safety Kit (mask and eye gear to protect my face from wood stain fumes and sanding the wood): $6.87
- Woodburning tool: $17.99
- 320-grit sanding sponge: $4.48
Artwork Materials:
- Home Depot Sande Plywood, cut to 6’x3′: $21.85
- Carbon transfer paper: $8.99
- Large printout of map from Kinkos: $15.17
- Wood conditioner (8 oz): $4.98
- Minwax Weathered Oak wood stain (1/2 pint): $4.77
- Minwax Satin Coat: $7.97
- 100 map push pins: $2.79
- Avery Sticker Project Paper: $10.53
- Sharpie Oil-Based Paint Markers, Medium Point, 5-Pack, Assorted Colors with Metallics: $12.43
The whole project costs about $100 to make. If I make it again, it will be even cheaper since I have all the tools handy now. This could end up being a fun side project to make for family and friends. The Custom frame cost a whopping $360.79, but I really think it completes the piece. :)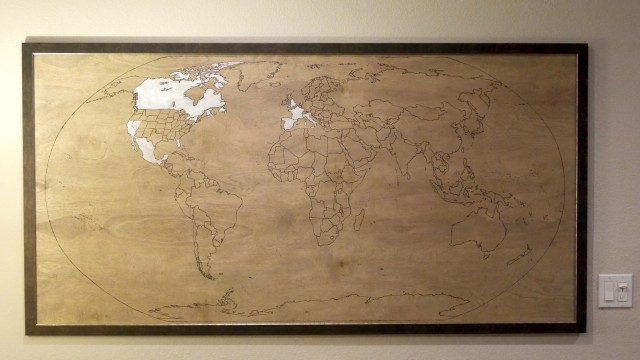
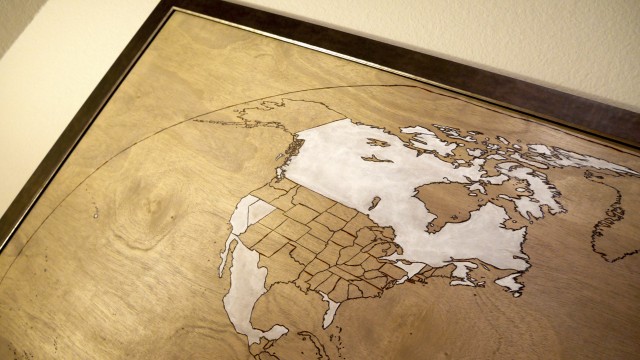
After framing it, I hung it on the wall next to my bed and painted in the countries I’ve visited so far using white acrylic paint. I also found some oil-based paint markers that seem to work well and are easier to use. I may use those from now on.
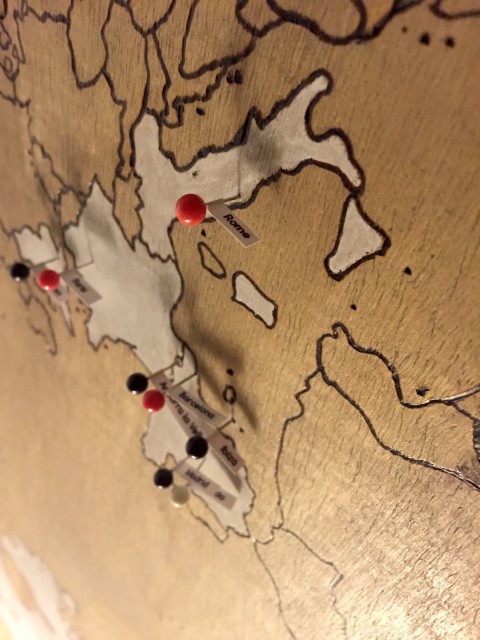 The final step was to put pins in the major cities I’ve visited. I came up with the idea to use sticker paper to print the city names on. I then cut the cities out and wrapped them around the pins so I don’t have to worry about writing the city names on the map itself. The city names appear on both sides of the sticker. I still have to figure out how to label the countries once I’ve visited them. I may just use a fine tip marker for that.
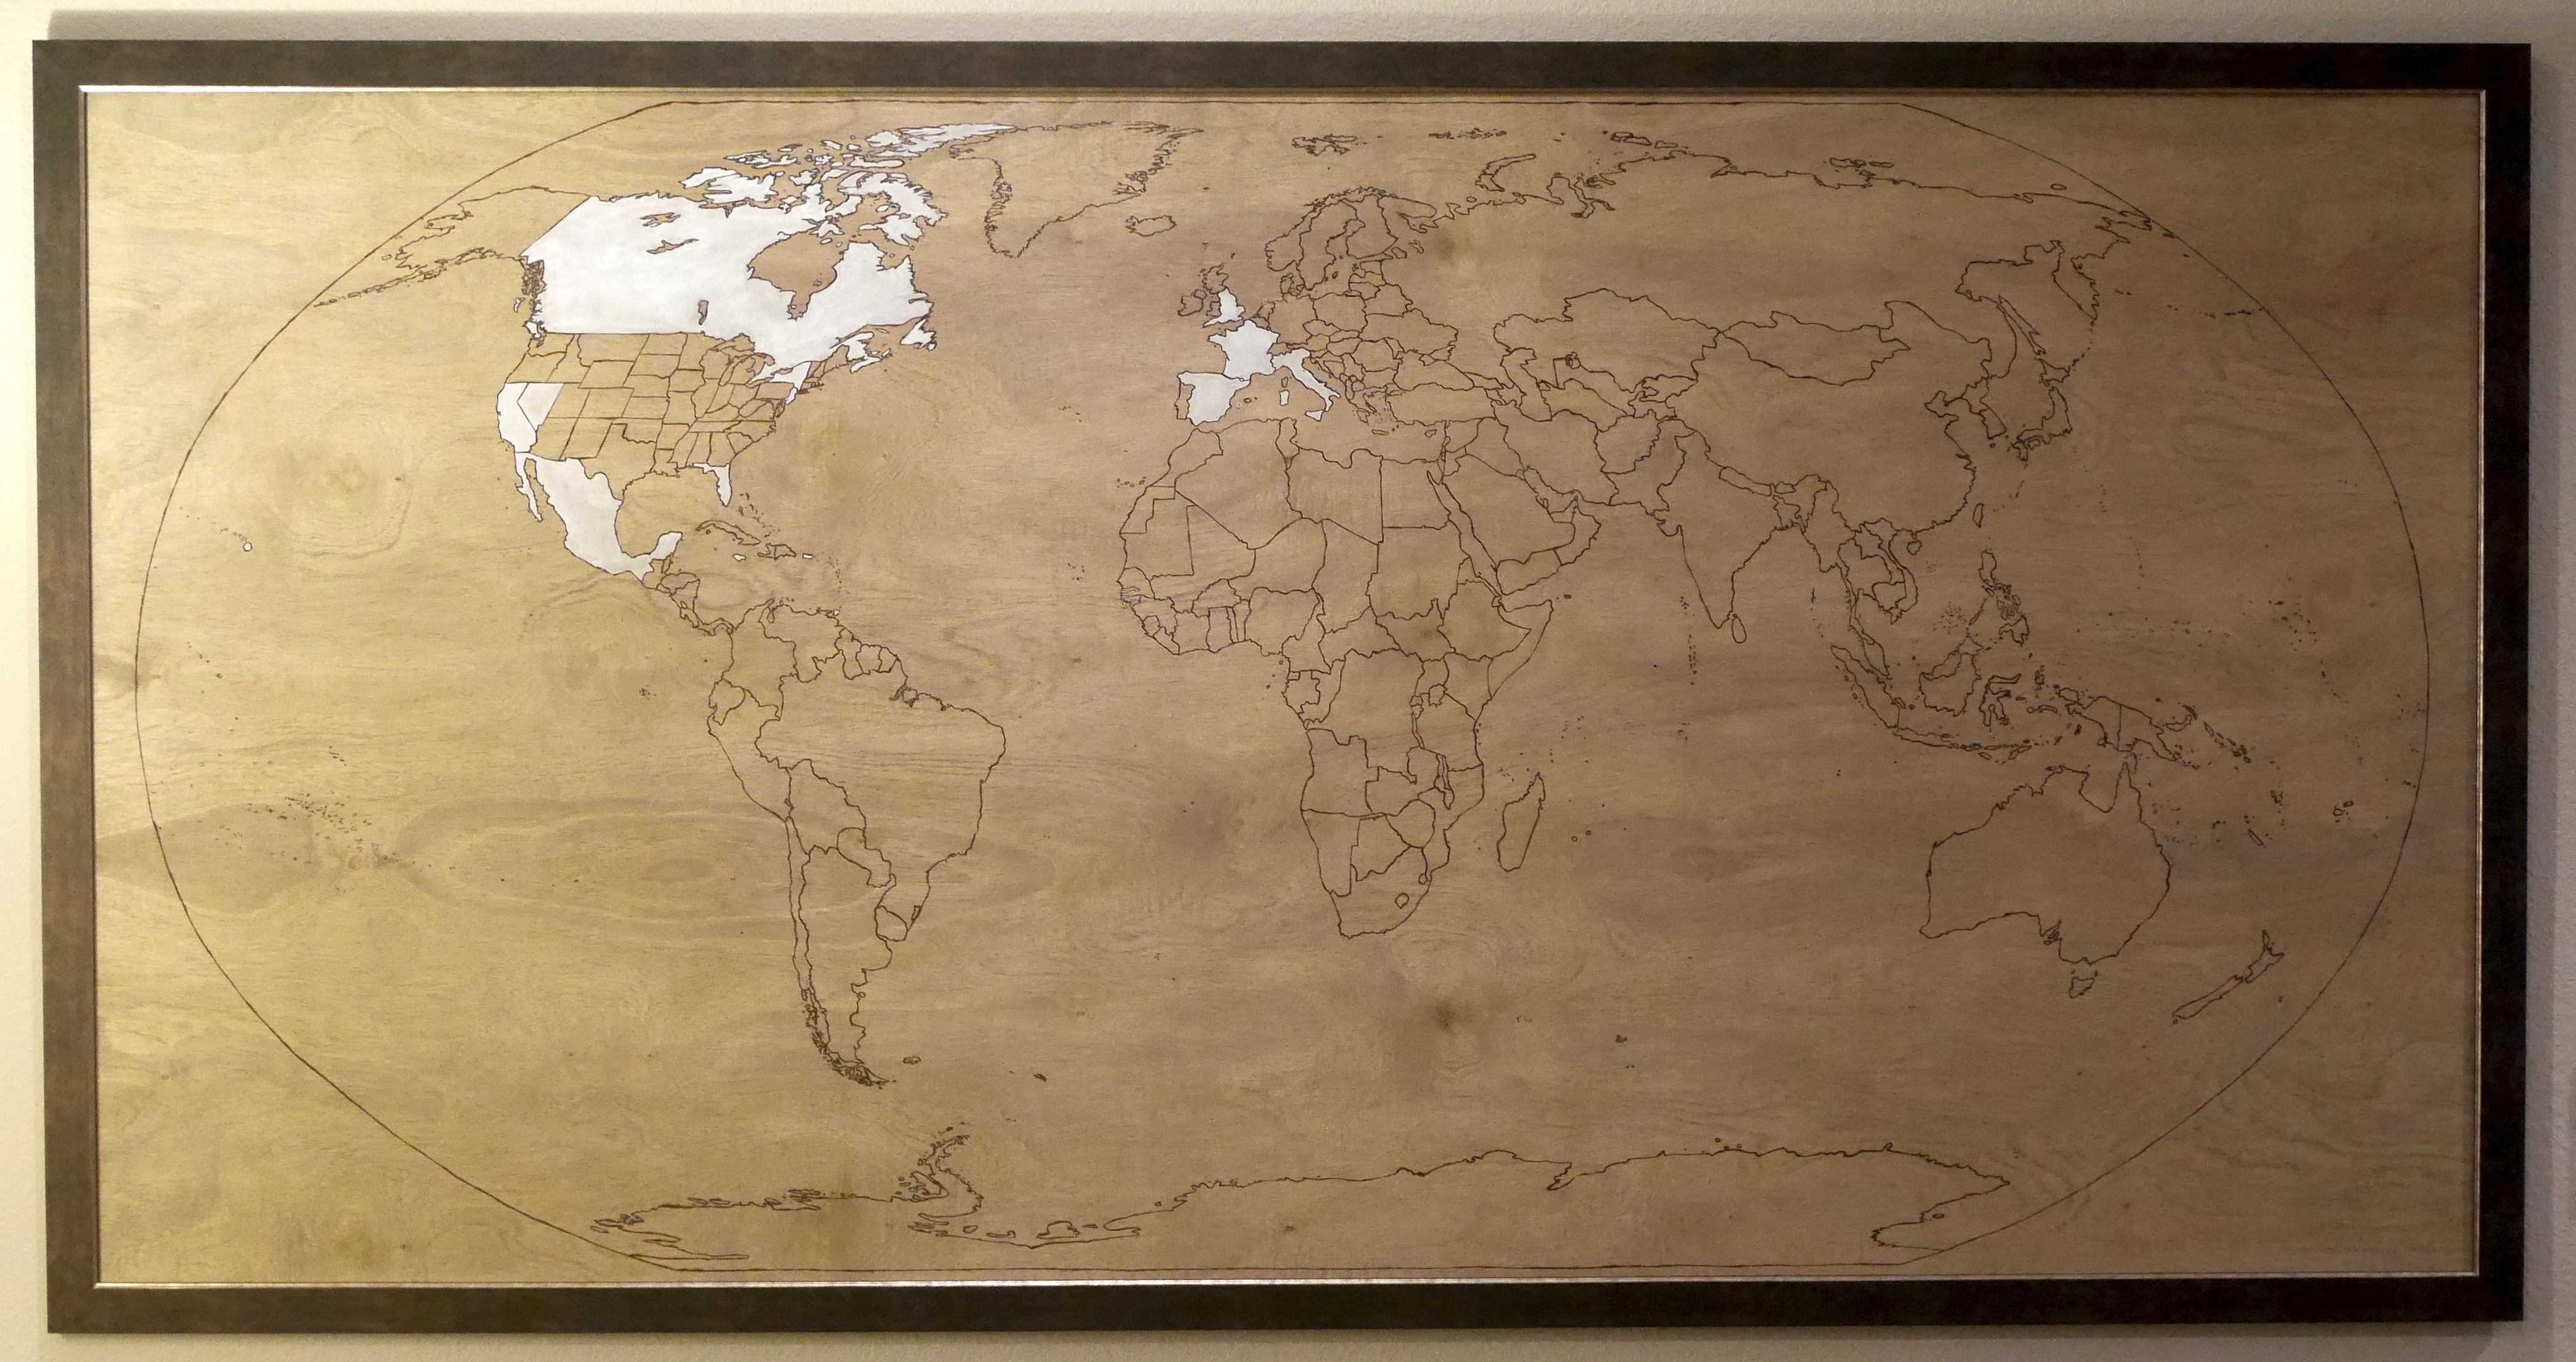
The awesome thing about this is it really gives a sense of where I have (and haven’t) been in the world. I clearly have a LOT more places to visit! 12 countries down…Roughly 184 to go! :) I’m so glad I decided to do this, and it makes traveling to new places that much more exciting. I hope you like it!
Hey! Thank you so much! I actually am thinking about making them for people. Let me know if you’re interested! :)
This is amazing! I have been looking for a way to track my travel for a while and this is the best I have found. I’m sure people would purchase these if you had the time/were willing to sell them.
Your art is always mesmerizing. This is beautiful and is a sensible approach to maps!
This is truly a one of a kind piece! Beautiful!